|
|
|
| Contents | | Edit Note/Alarm | | Layers | | Settings | | Pictures | | Tray | | Print | |
|
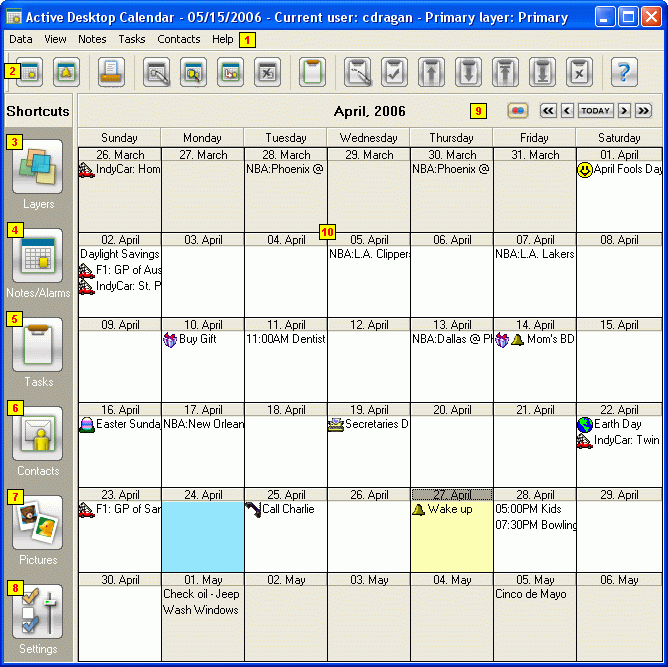
Active Desktop Calendar Workspace
Data Layers (Ctrl-L): Opens the dialog for managing data layers. See more details here. Export: Allows you to export your Notes, Tasks, Alarms and calendar icons within a time frame you specify. Please note that when you use exporting from this menu then the program will automatically export data from all enabled layers to the same file. If you want to export data from one particular layer then go to the layers dialog, select that layer and click Export layer data (exporting from layers dialog also works when you make multiple layer selection). Note: You can choose between three file formats
here. One is Active Desktop Calendar's proprietary .ADC format and the
other two are well-known iCal and comma separated values .CSV (Windows)
formats
supported by many programs. Import Calendar: When importing select a data file that you want to import, click Open, adjust importing options if necessary and click Finish. By default the program will import all types of data from a file to a new layer. If you want to import data to an existing layer then switch to "Import to existing layer" option, choose the target layer and tell the program what to do in case of duplicates. Importing option currently recognizes the program's own data formats, .ADC that you get by exporting and .ADX that is the internal data layer file format, plus the iCal and comma separated values .CSV (Windows) formats. Note (CSV): If you want to import data from a CSV
file
please note that it has to be formatted in the same way as a CSV file
exported from the program. That means it has to have the leading row
with data field names in the same order. Export a CSV file to check how
exactly it should look like and here is a single note example: Import Contacts: To import contacts simply select external data source you want to import contacts from and click Import Contacts. The program will do the rest automatically. Note (Outlook): For successful import from Outlook
it is essential that you do the following. Before clicking Import
Contacts button make sure Outlook is started. After clicking Import
Contacts switch temporarily to Outlook and allow access to its
contacts, then go back to the program. Print Calendar (Ctrl+P): Use this option to print out a monthly calendar. See more details here. Print All Contacts: Use this option to print out all your contacts (to print out a single contact go to Contacts View, right click on that contact and choose Print contact option). See more details here. Print Notes/Tasks: Use this option to print out notes and/or tasks as a list. See more details here. Program Settings (Ctrl+S): Opens the Settings panel. Exit Program: Exits the program.
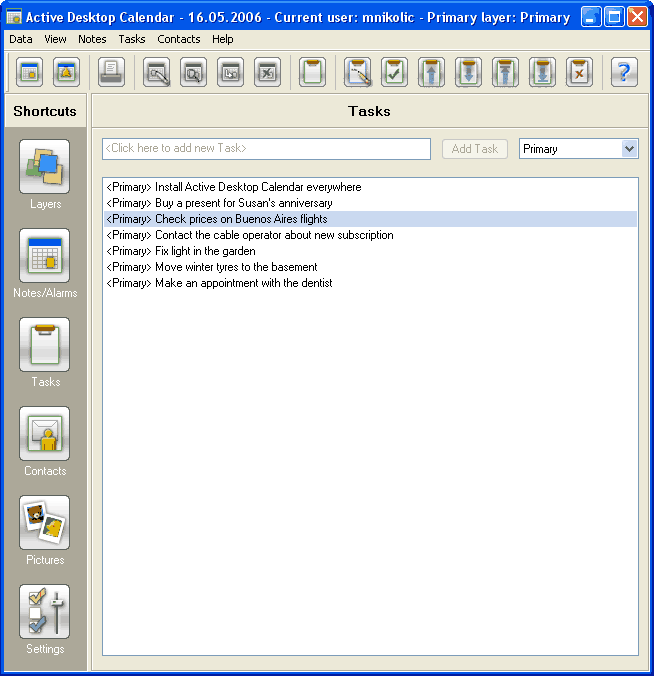
Notes View (Ctrl+N): Switches the workspace to Notes view. Tasks View (Ctrl+T): Switches the workspace to Tasks view. Desktop Pictures (Ctrl+D): This option allows you to add some of your pictures to the desktop on top of the background picture you may already have. See more details here. Enable Notes View Tooltips (Ctrl+W): Use this option to enable or disable tooltips that show complete subject/text of a note when mouse pointer is kept over it for a short while. New Note: Opens a dialog for adding a new note. See more details here. New Alarm: Opens a dialog for adding a new alarm. Find (Ctrl+F): Performs a search through all notes text. Search is case insensitive. Find Next (F3): Repeats the last successful Find action. Go To Date (Ctrl+G): Automatically positions your Notes view to a specified date. Attach Date Icon: Attaches icon of choice to selected date in the calendar. That icon will appear instead of regular date icon if calendar is set to be shown as icons on desktop. Remove Date Icon: Removes previously attached icon of selected date. Regular date icon will be shown on desktop. Edit: Edits selected note. If note selected for editing is an instance of repeating note you will be prompted to decide whether the original note and all of its instances should actually be edited or not. Editing just one instance of a repeating note is not possible. Delete (Del): Deletes selected note. If note selected for deletion is an instance of repeating note you will be prompted to decide whether the original note and all of its instances should actually be deleted or not. Deleting just one instance of a repeating note is not possible.
Data Integration Wizard: Launches a wizard that helps new users transfer the information they already have in other programs into Active Desktop Calendar. Supported external data sources are MIcrosoft Outlook (appointments, tasks, contacts), Google Calendar, Microsoft Outlook Express (contacts) and Windows Address Book. Registration: Use this option to enter your registration data. When the registration dialog shows up type in your name and registration code and click Register. While typing the code pay attention to typw all 17 symbols without mistakes. View Errors Log: The program keeps track of important events regarding access to network data layers. Informations about lost connection with a layer file and successful reconnection are all written to a text log file that you can open in Notepad with this command. Clear Errors Log: Use this command to clear the log file for network layers access. Contact Technical Support: You can use this option to contact XemiComputers technical support with any questions you may have about the program. Visit Program Homepage: Takes you directly to Active Desktop Calendar homepage. About Active Desktop Calendar: Displays some basic information about the program. Tell a friend: If you want to spread a word about this program "Tell a friend" option is there to help you. It will open new email message in your default email client and set it with some basic information and a link to the program's homepage.
New Note New Alarm
Edit
Opens the dialog for managing data layers. See more details here.
Switches the Active Desktop Calendar workspace to Notes/Alarms view.
Switches the Active Desktop Calendar workspace to Tasks view. 
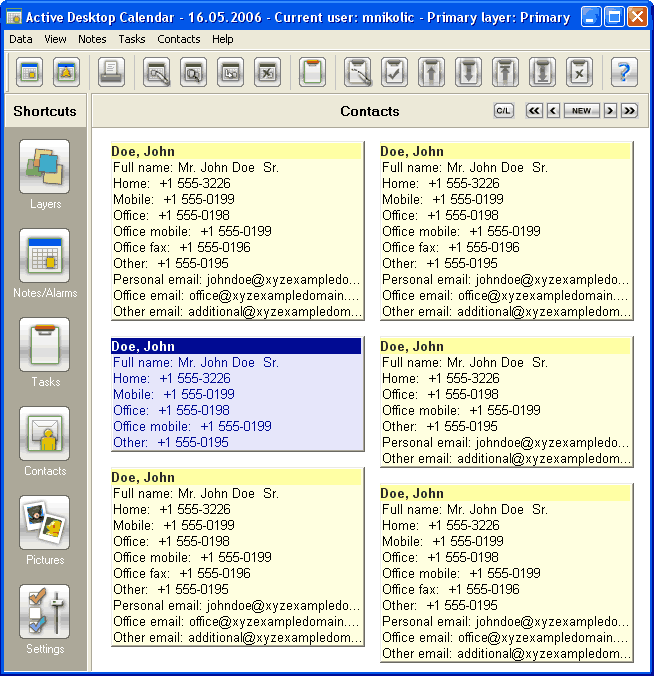
Switches the Active Desktop Calendar workspace to Contacts view. 
This option allows you to add some of your pictures to the desktop on top of the background picture you may already have. See more details here.
Opens the Settings panel.
|
|
| Contents | | Edit Note/Alarm | | Layers | | Settings | | Pictures | | Tray | | Print | |

